AeroPress Brewing Guide: The Versatile Icon of the Coffee World
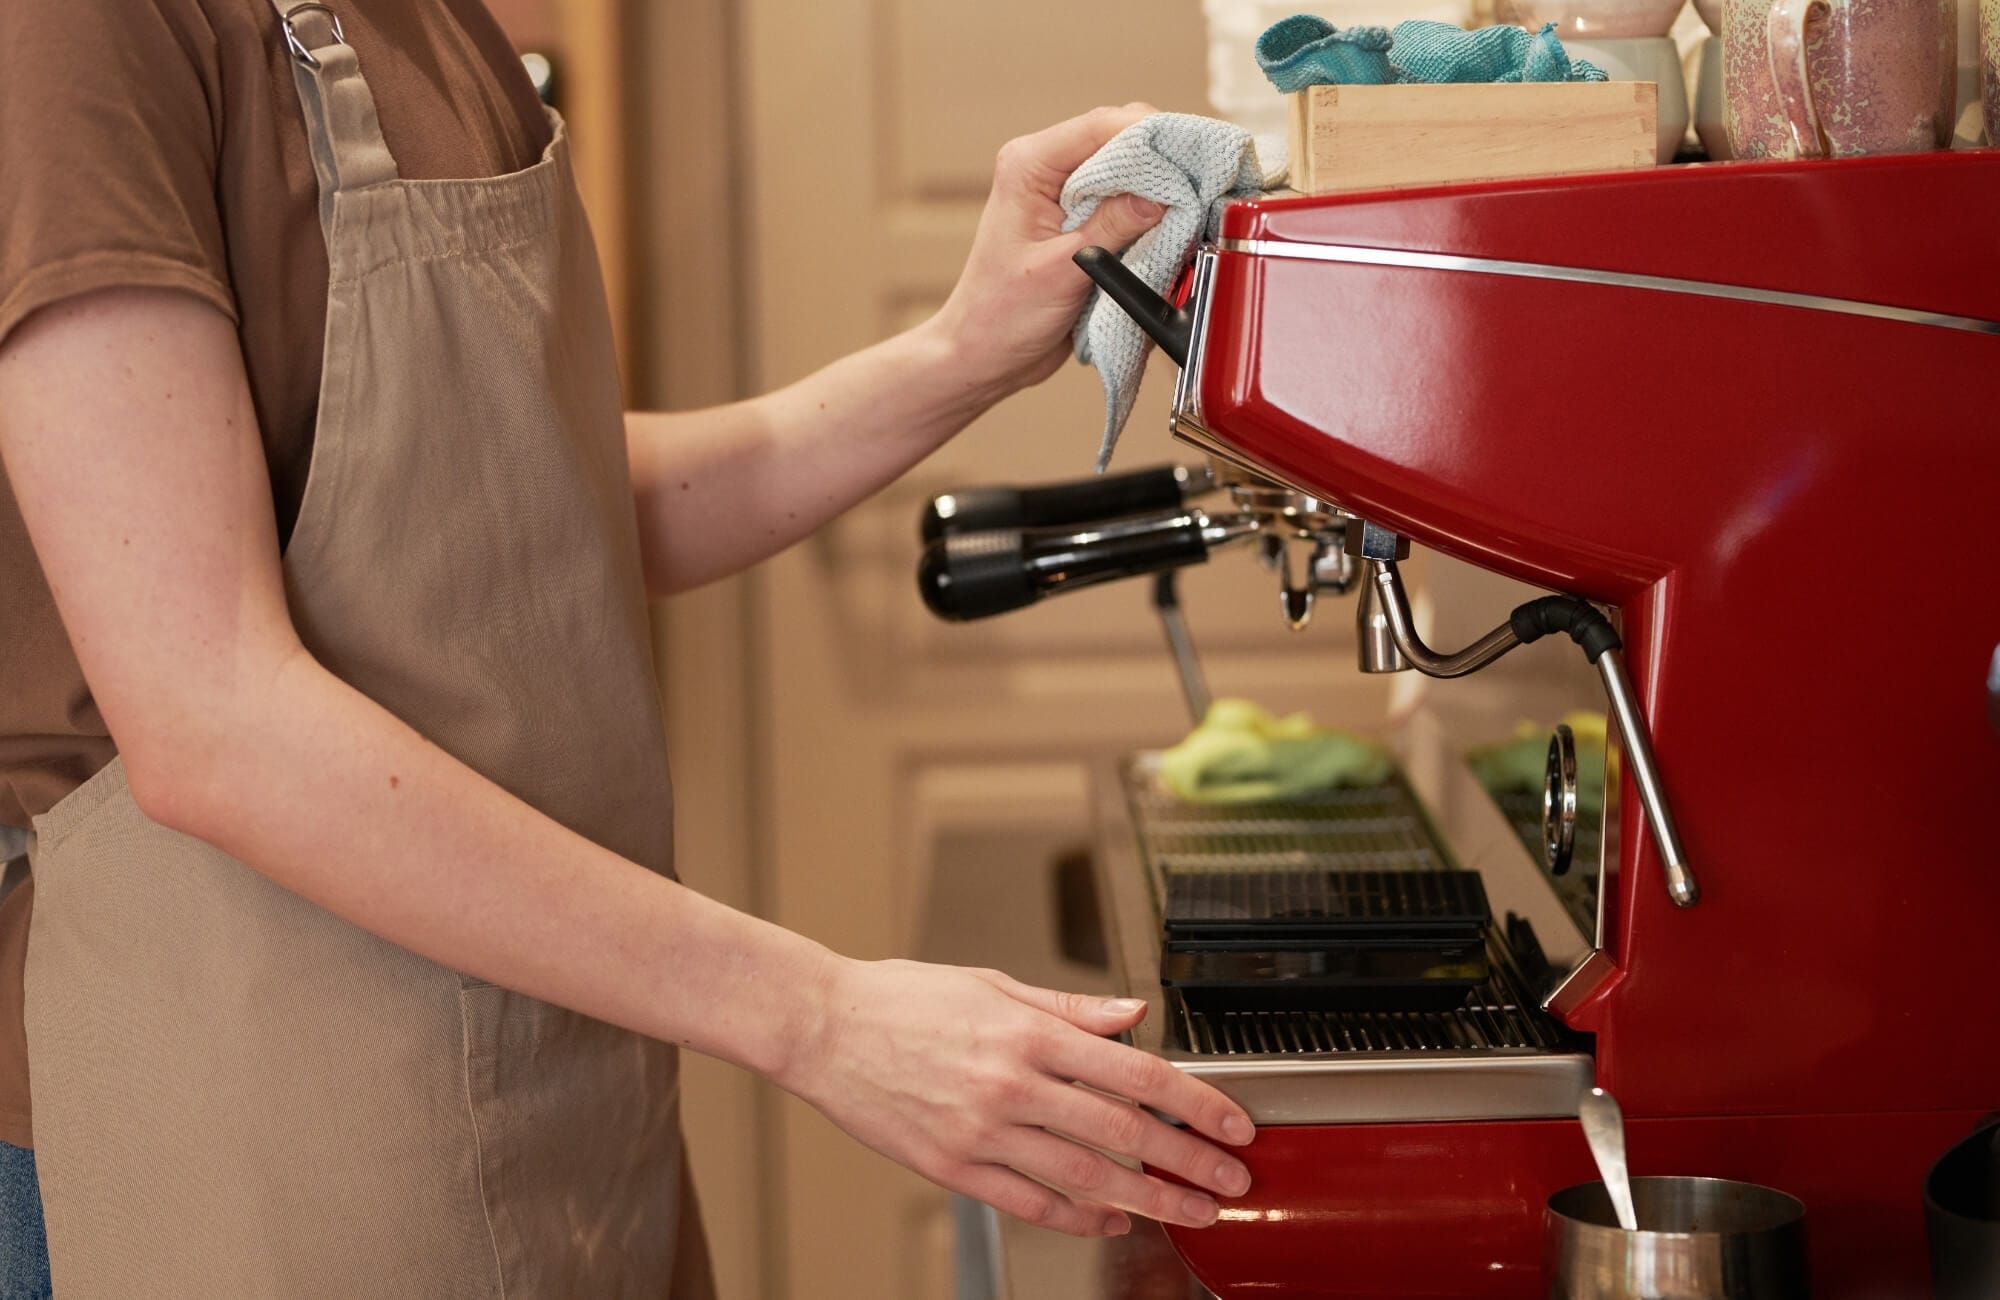
In the history of coffee gear, most brewing devices, such as the French Press or the Moka Pot, operate on traditional principles dating back decades or even centuries. However, the AeroPress, invented in 2005 by toy inventor and physicist Alan Adler, broke all the rules. Today, with global championships held in its name and thousands of new recipes developed every year, this device has become an indispensable part of modern coffee culture due to its durability, portability, and unique flavor profile.
In this AeroPress Brewing Guide by Julith Coffee, we dive deep into the physics behind this “magic tube,” the different brewing schools of thought, and every detail required to achieve professional results at home.
What is AeroPress Brewing? The Genius Behind the Design
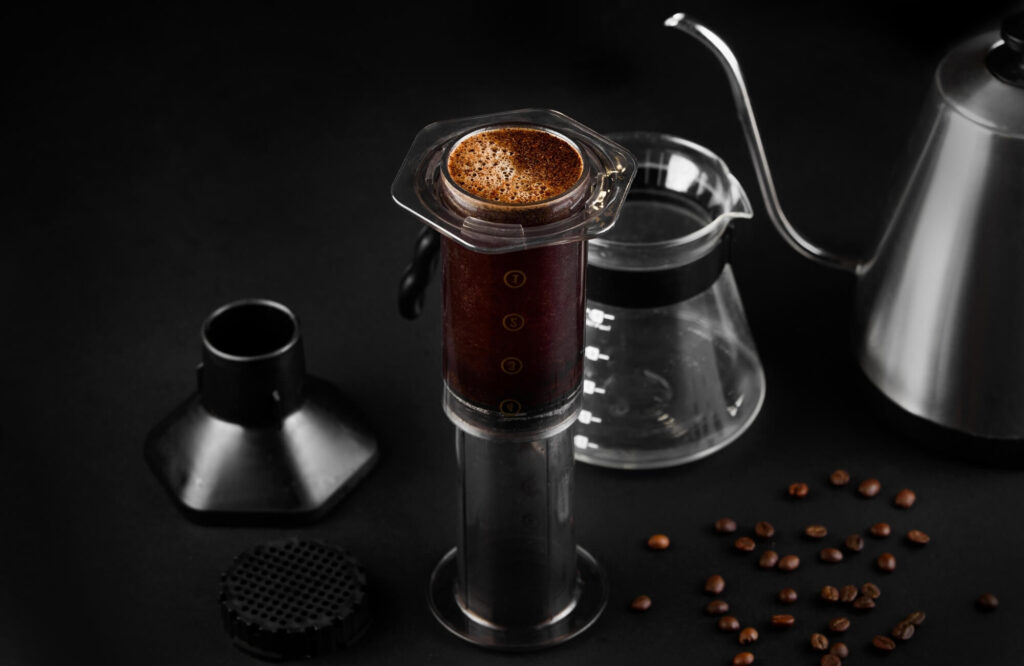
The AeroPress is a simple device made of BPA-free polypropylene, resembling a giant syringe. However, its true power lies in its ability to combine immersion and pressure-based percolation. Alan Adler designed this device to eliminate the bitterness and long steep times often associated with standard drip coffee makers.
What makes the AeroPress unique is air pressure. When you press the plunger down, the resulting air pressure forces water through the coffee bed more quickly and efficiently than gravity alone. This speed prevents undesirable bitter compounds (like tannins) from entering the cup while highlighting aromatic oils and natural sweetness. The core message of this guide is clear: AeroPress brewing leaves very little room for error because it gives the user total control over every variable.
Two Main Schools: Standard vs. Inverted Method
A comprehensive AeroPress Brewing Guide must highlight the “Inverted” method developed by the coffee community.
Standard Method: The device is placed upright on a cup. As soon as coffee and water are added, some liquid starts to drip into the cup due to gravity. This method produces a lighter-bodied, high-acidity, and transparent cup. It is generally preferred for light roast, fruity coffees.
Inverted Method: The plunger is inserted into the chamber, and the device is flipped upside down. In this method, the coffee and water are completely trapped inside the tube. There is no risk of water leaking into the cup prematurely. This allows for total control over the immersion time. The result is a more full-bodied, intense, and sweet cup. Most recipes used in World AeroPress Brewing Championships are built upon this method.
Mastering AeroPress Variables
The reason AeroPress is often called the “Swiss Army Knife of the coffee world” is its adaptability to any grind size:
Grind Size: For an espresso-like concentrate, use a fine grind. For a standard filter experience, aim for medium-fine. Thanks to the pressure applied, you can achieve a surprising body even with a coarser grind.
Water Temperature: While 92-96°C is the standard for most methods, the AeroPress Brewing excels at lower temperatures (80-85°C). Lower temperatures tend to increase sweetness, while higher temperatures highlight acidity and clarity.
Filter Choice: Standard paper filters trap oils for a pristine cup. Metal (disk) filters allow natural oils to pass through, creating a “dirtier” but heavier mouthfeel, similar to a French Press.
Step-by-Step Professional Inverted Recipe
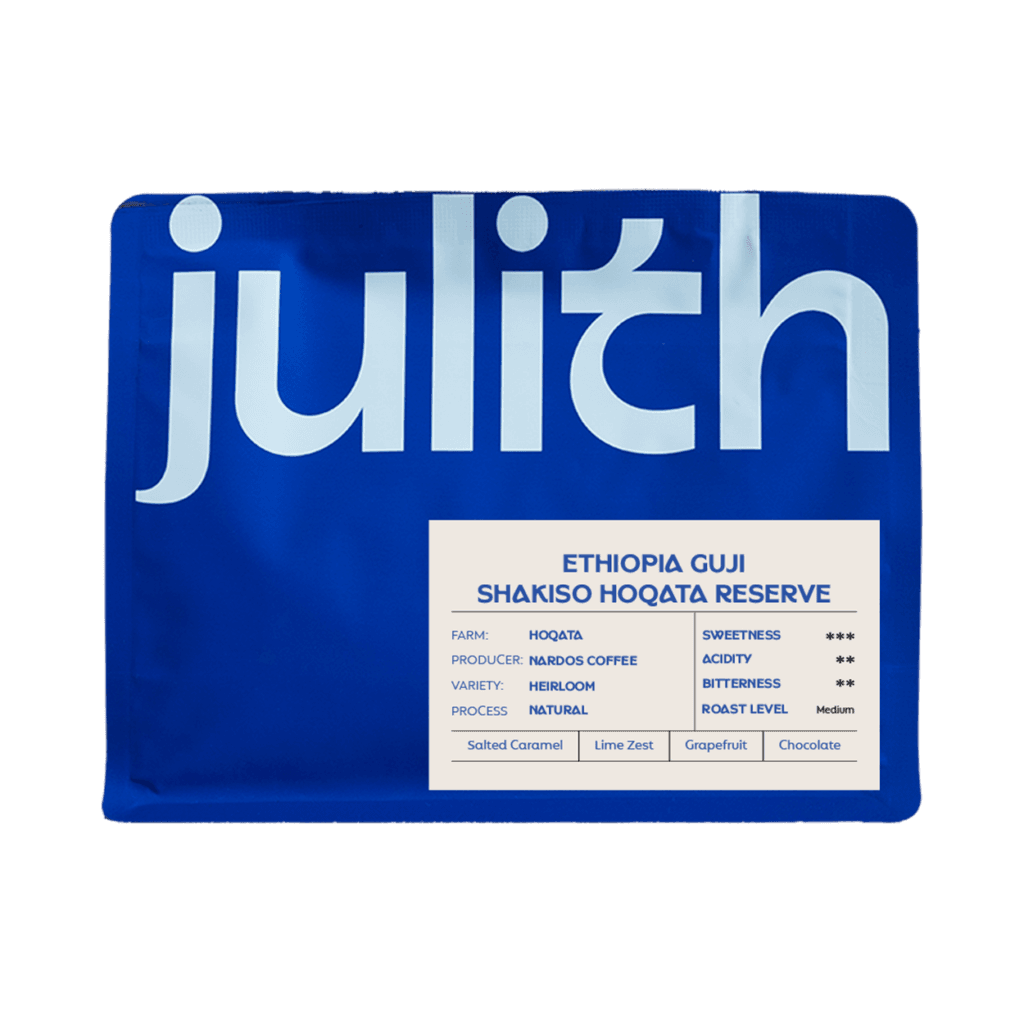
Prep: Grind 15g of fresh Julith Coffee to a medium-fine consistency. Rinse your paper filter to remove any papery taste.
Setup: Insert the plunger 2cm into the chamber, flip it, and add the coffee.
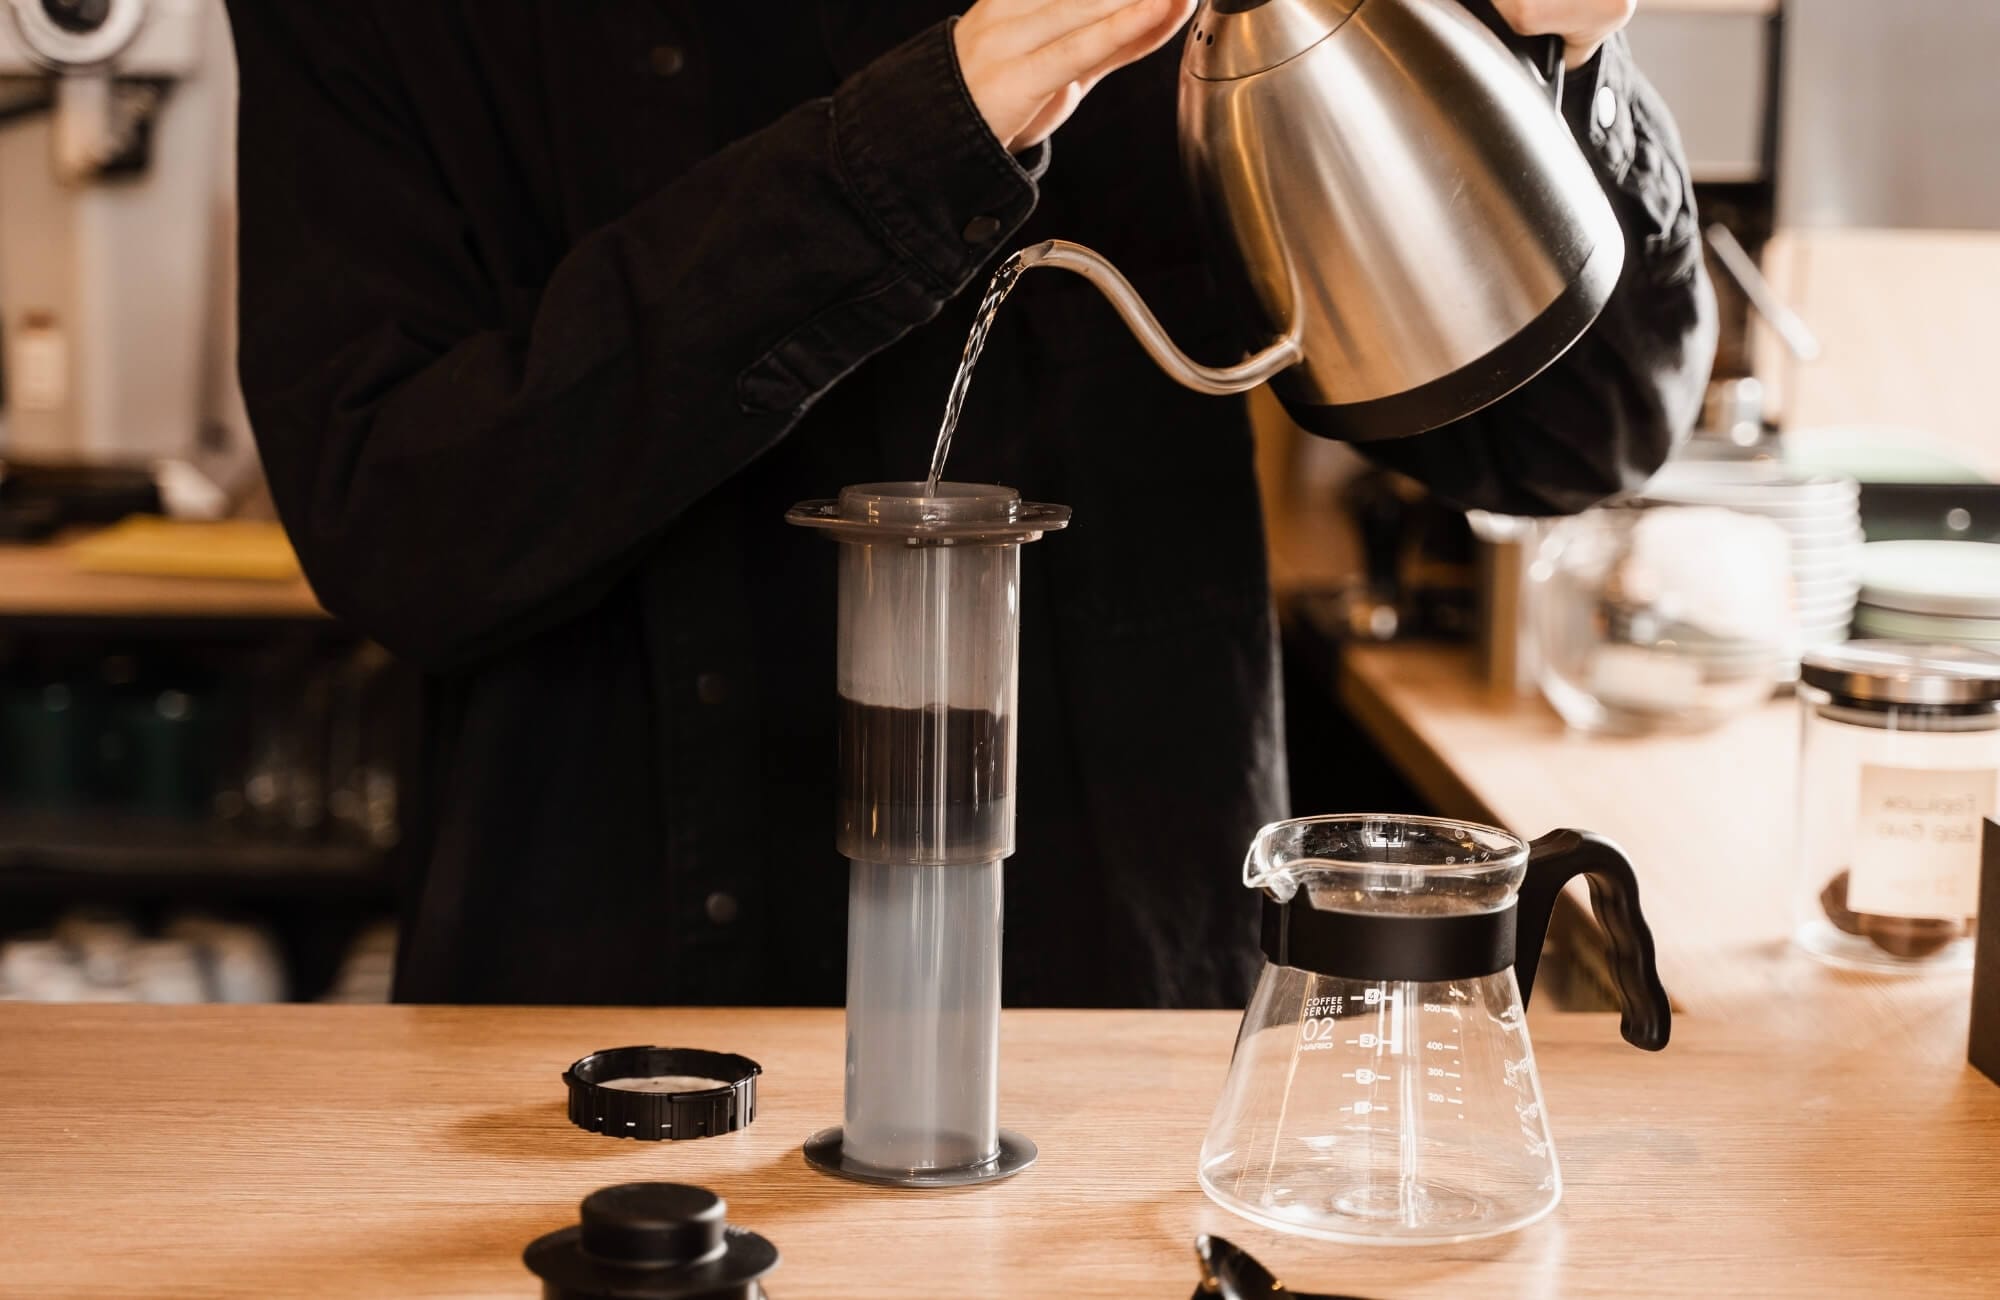
Pour: Quickly add 250g of water at 92°C.
Agitate: Stir gently for 10 seconds to ensure all grounds are saturated.
Steep: Seal the cap and wait until the total time reaches 1:45 minutes.
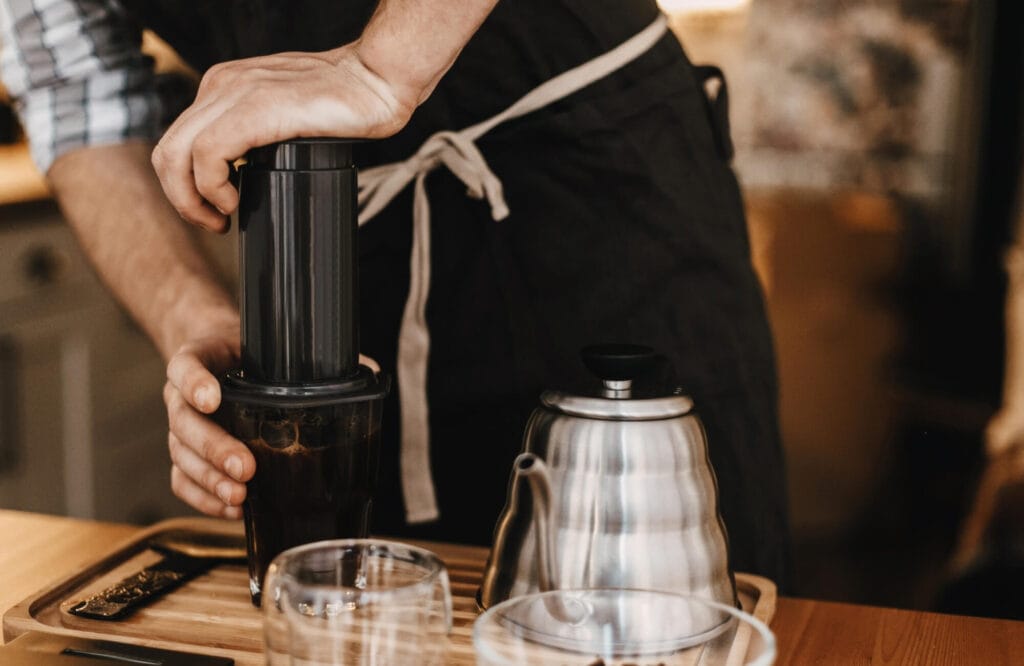
The Plunge: Flip the device onto your cup and press down with steady force for 30 seconds. The famous “hiss” at the end marks the completion of your brew.